Like most parents these days my kids are sing Frozen songs all day long and I am sure they can quote the whole movie word for word, from memory.
So not surprisingly my little one want to be Anna this year Halloween.
I had some left over black fabric from the lining of a dress, maybe 1/4 yard.
For the vest I folded one of her t-shirts in half as well as the black fabric. Then I about an inch from the bottom of the t-shirt and about 3/8" from the side. I stopped right below the arm hole.

Then I unfolded the shirt and tucked the sleeve under and cut as close to it as I could. Then I cut 3/8"from the shoulder seem and along the collar.

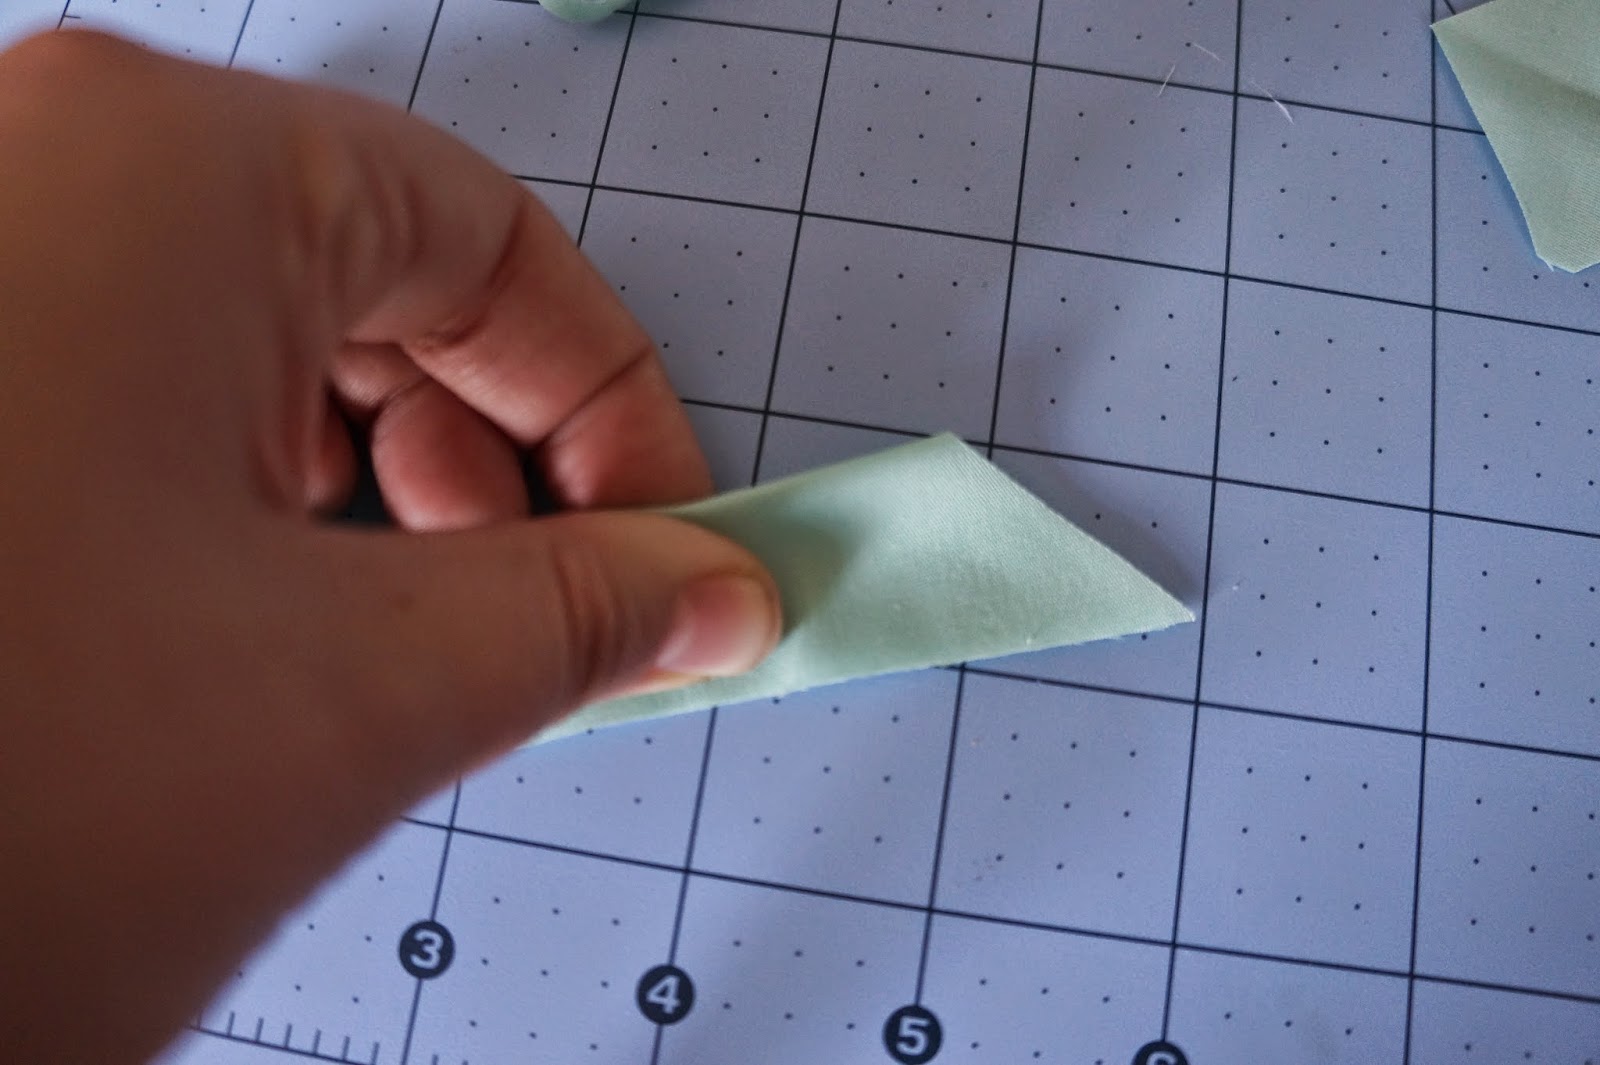
Then I eyeballed a square cutting down from the edge of the shoulder seem.

For the back rather then lining the middle of the shirt up with the fabric fold move it in about an inch to accommodate the zipper.
Then sew the side and shoulder together, with right sides facing each other.

For the under shirt you will follow most of the same step as the vest the only changes being you cut 3/8"away from the seem on the sleeve and you don't need to add any length to the bottom, as a matter of fact you can cut higher up if you want to conserve fabric. For the neck you will want to use the collar on the back of the shirt as your cutting guide to give Anna's dress the high collar.

Once you have the top cut out sew the sides and shoulder together with the right sides facing each other.
To add sleeves I drew a bell curve on parchment paper, measured her wrist added a little so it could get over her hand, and measured her under arm length (armpit to wrist). Folded the paper in half so I would have a line going through the center of the bell curve.

Centered her wrist measurement on my fold her under arm distance from the bottom of the bell curve. Used my ruler to get a straight line from the bell curve to her wrist. on each side and cut out my pattern.

Trace and cut out two sleeves out of your light blue. Add a basting stitch on the bell curve portion of the sleeve so you can gather later. Fold hot dog style with right sides facing each other and sew sleeve together along arm length. Now hem the wrist. I used a fun stitch to add some charter but a straight stitch would work as well. Now gather top of sleeve to fit the arm hole of your undershirt put right sides together and sew.
Now it is time to add the collar.
I cut two 2 inch strip that were 9 inches long

Folded in half cut end at an 45 degree angle then press.
When you open it should look like this.

refold the cut portion so the right sides are facing and sew along the angle. Turn over and press again.
Overlap folded portions in center of under shirt and attach. Photo is of finished project I didn't have a close up of the collar.

Back to the Vest I purchased some Metallic Gold Bias tape. Folded it over the neck and shoulders. I used a leaf stitch to add to the fun and I loved how it turned out. I forgot to take a picture of this step but here is a photo from further along.

Now place vest on your kiddo and pin bias tape along the vest to create what will become the waist line.This has a lot to do with your child's size and build so it is hard to give measurements. Sew bias tape down using a leaf stitch only in the upper half of the tape.

Now place under shirt under vest and baste stitch them together. The zipper with be attached to both and hold them together but for right now I found a baste stitch to be helpful while attaching the skirt.
No comments:
Post a Comment