Monday, October 20, 2014

Elsa dress, glitter spray, fast pleat, and a pattern trick


So this year my girls want to be Anna and Elsa for Halloween.  My oldest saw a pattern at the store asked for it and I thought it would be easier then making it up, but I found lots of things I didn't like about it. I decided that I wasn't going to use the pattern for the Anna dress and make some changes to the Elsa dress.


So first thing I don't like about this pattern is the large difference between sizes, I normally don't use patterns for kid clothing so this might be normal...


Also a great trick for cutting out patterns is to lay the patterns on the back of a chair to keep little hands and paws away from the pattern.


On to the the dress, it was pointed out to me that Elsa's cap does NOT come around to the front. So for my observant child I  made a few changes.


So I laid out the pattern over the fabric with the straight edge parallel to the fold.


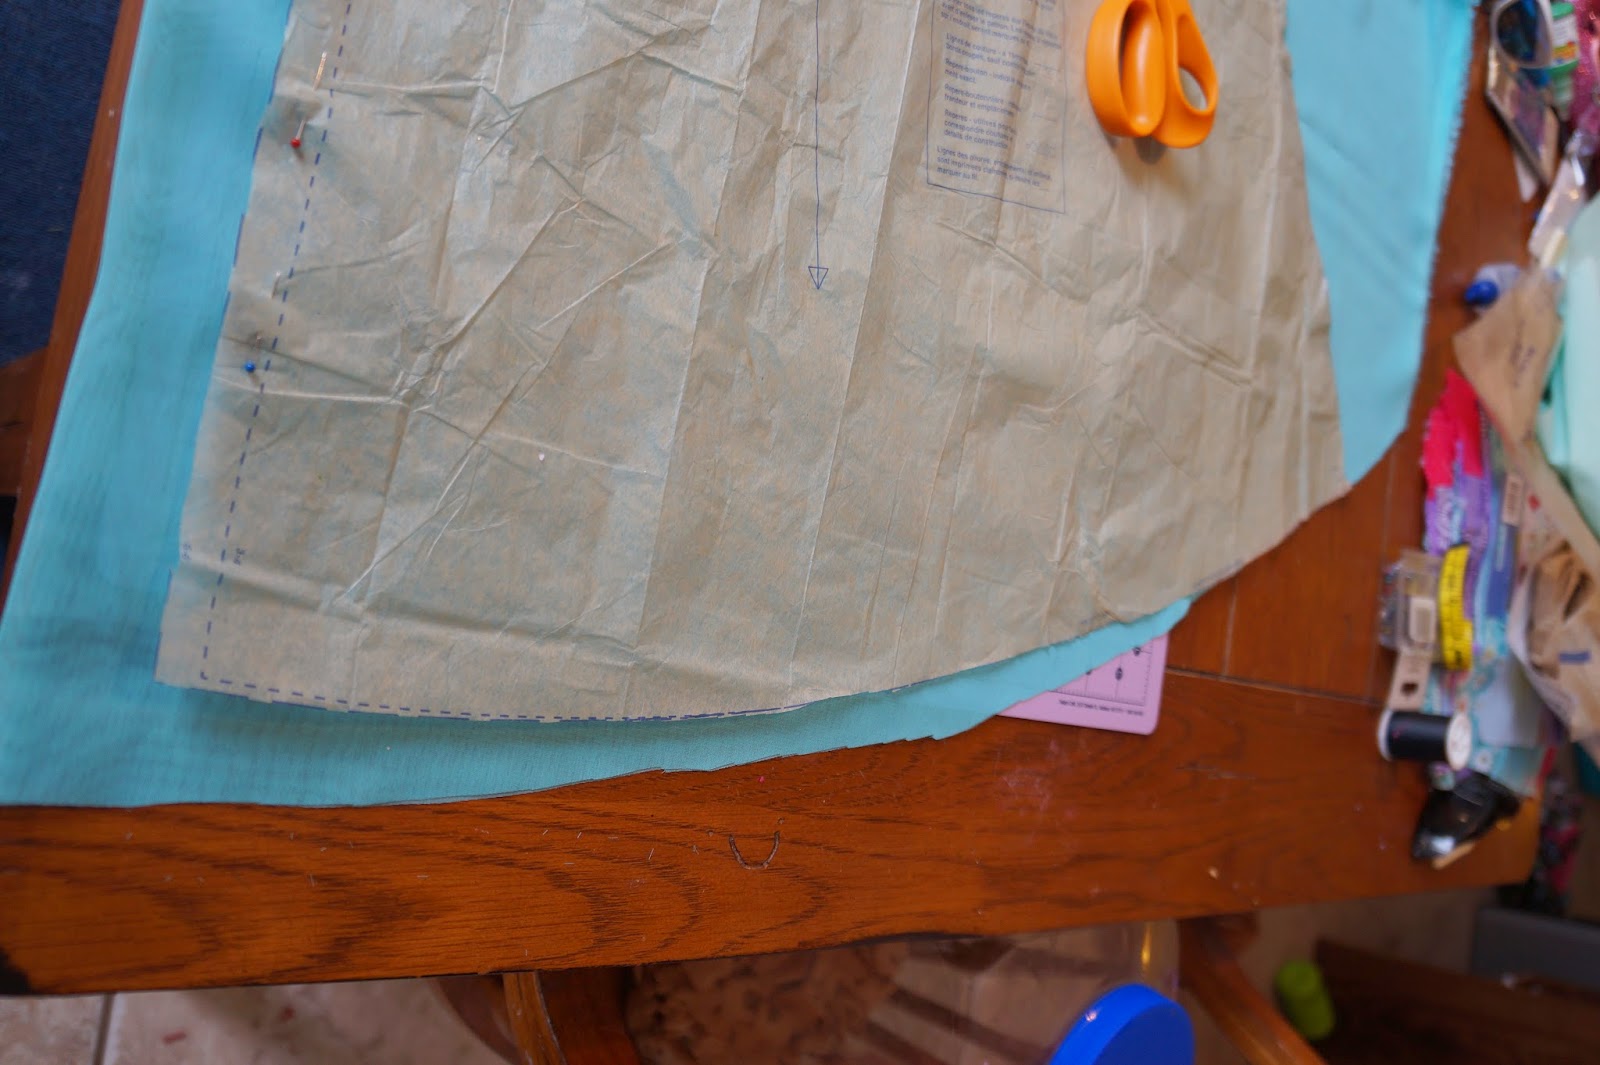
I cut a curve along the bottom to add to the flowyness of the cape.


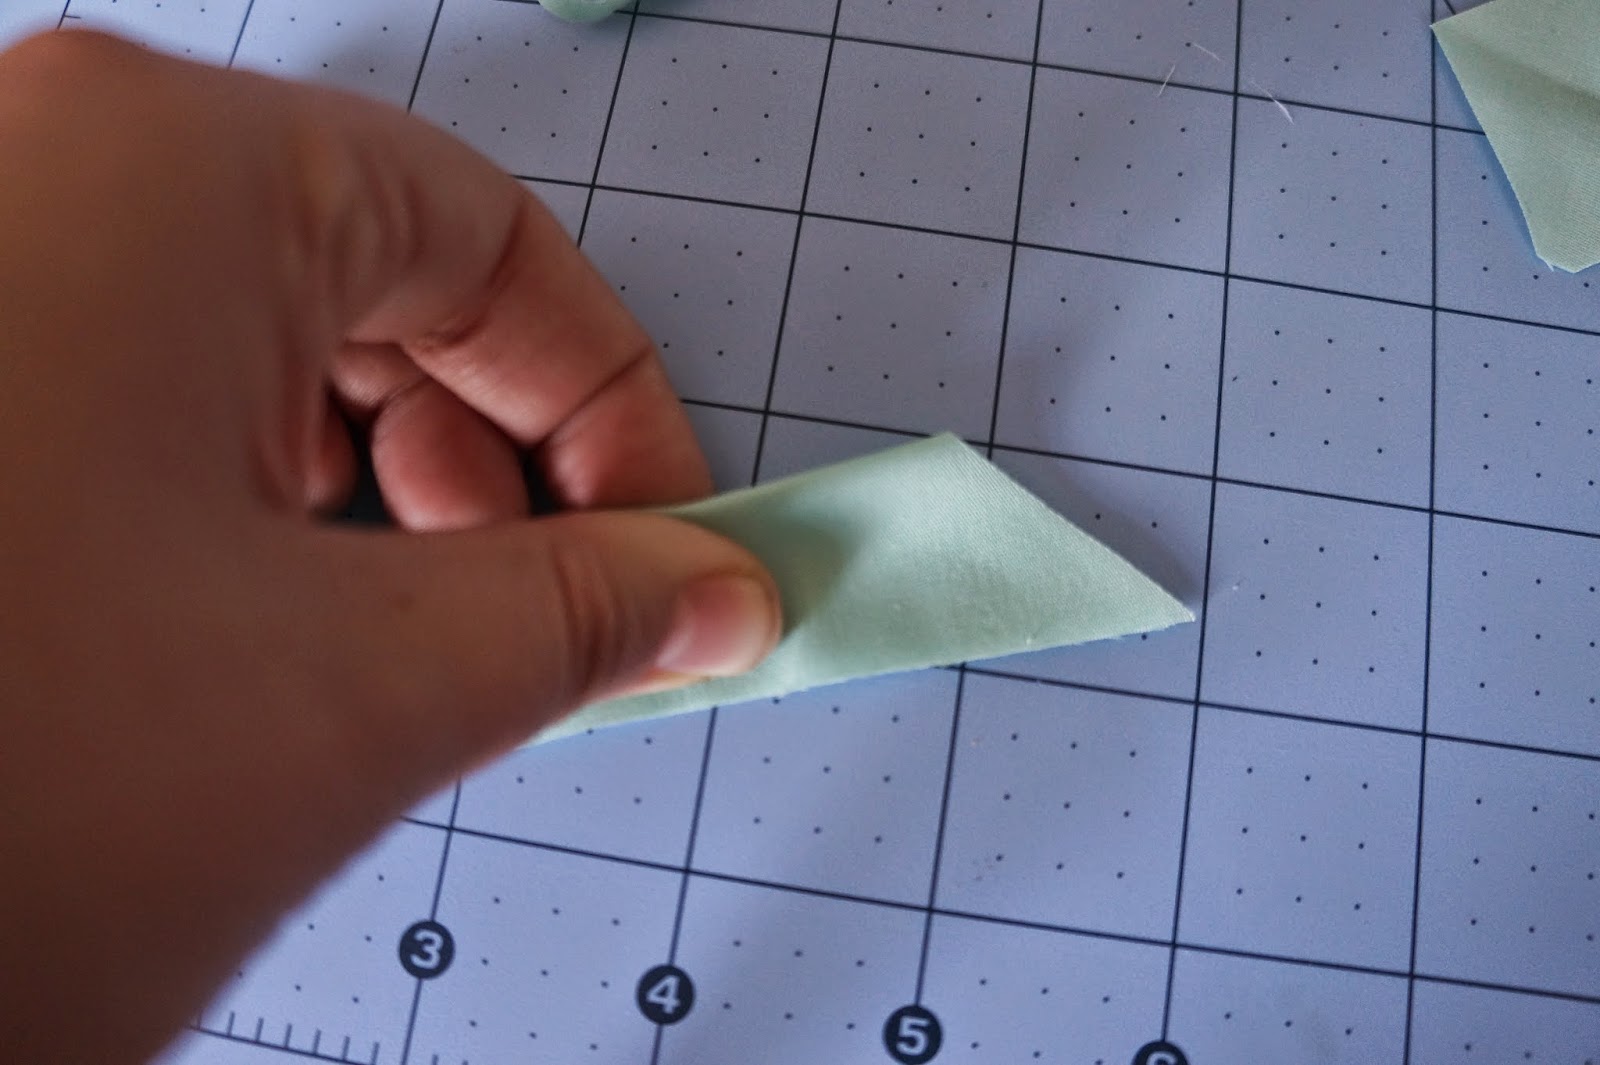
Then because I wanted it to be fuller I did a fast pleat. I pinned down the corner far enough away to leave room for a hem. Keeping the fabric layered.


Take both layers of fabric and fold them under in approximately even sections. 


Pin down.


Keep going until you get close to the arm hole, then cut out cape.  Now cut about half way down along the fold to allow access to the zipper.


Then unfold and refold  pleats so they both face out
 and sew down to keep in place.


Add narrow hem to outside of cape and in the middle. 


Next I added some of this spray glitter to make it shimmer and shine. You want to do this outside it goes everywhere. Also it will cause fabric to stick to what ever it is on or itself.


This was how I sprayed it.


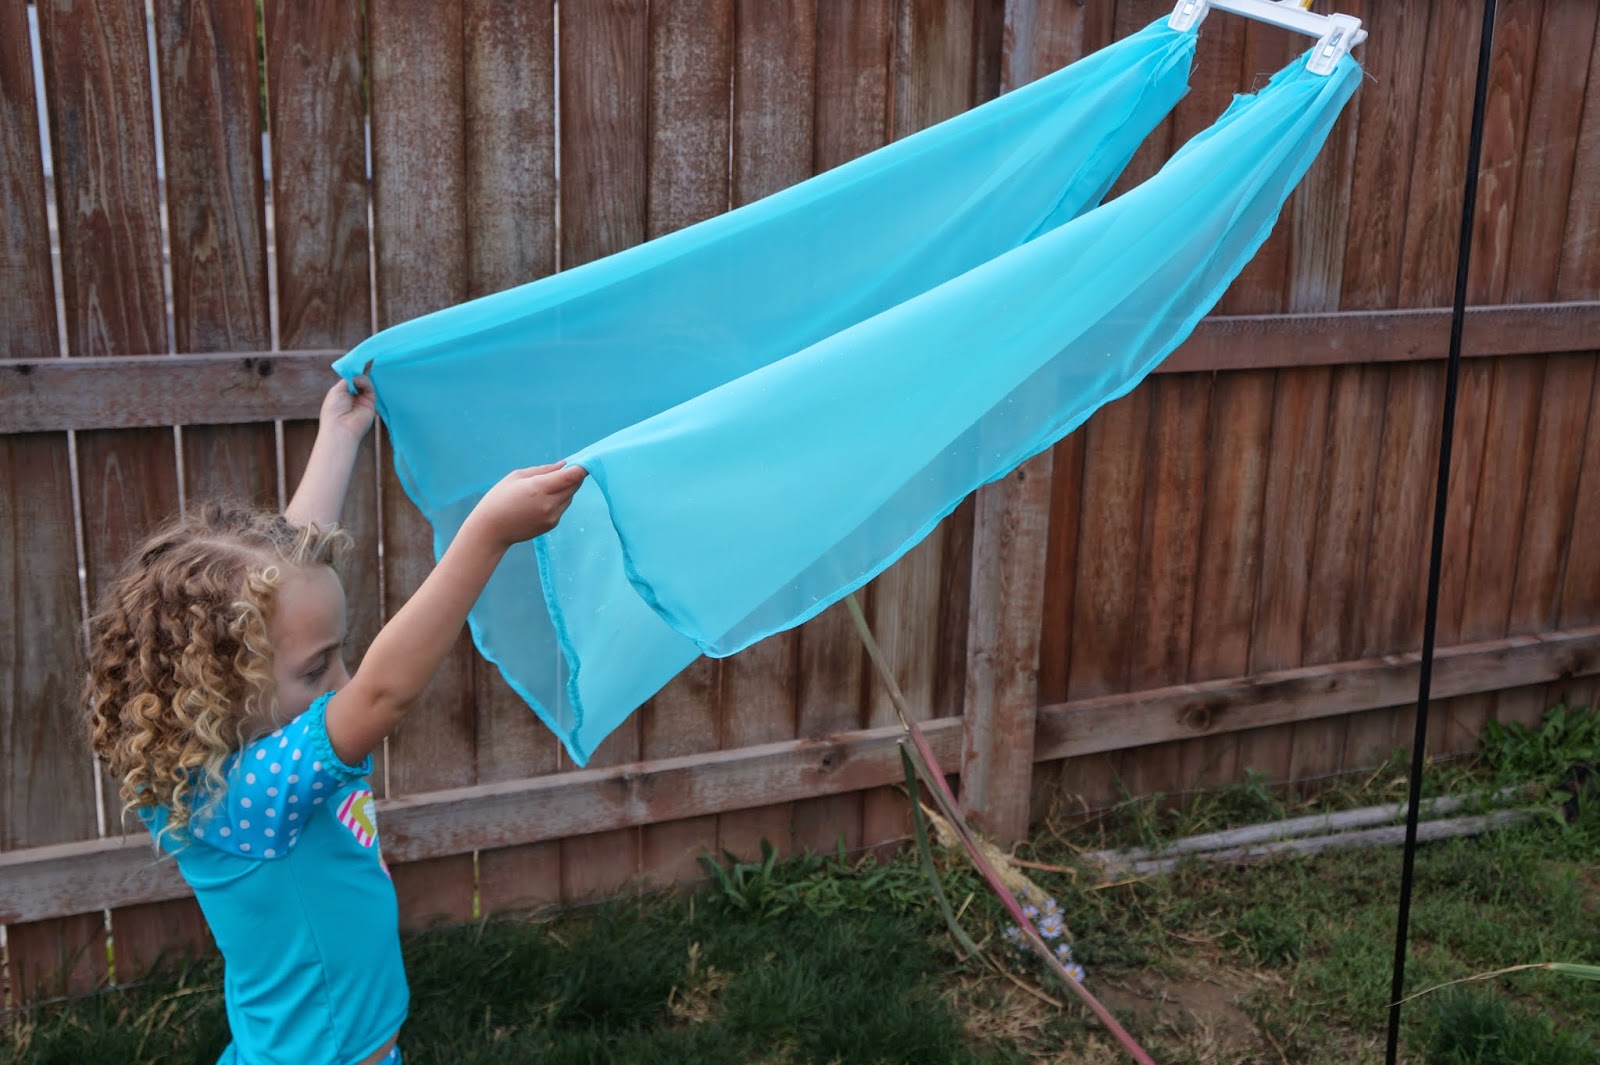
And my little helper kept the fabric from sticking to itself and helped it dry faster. 

I sprayed it at different distances, it got some splatters and clumps on it but it added to the snow covered look I was going for.


Finished flowing the pattern and ....

Front

Back

One last note I added a "snowflake" stitch to the sleeves and collar. Not sure exactly what it is called but it is the one that looks like ****It really added to the dress and my little one loves that her dress is covered in snowflakes.   


Friday, October 17, 2014

Anna Dress Tutoria

Like most parents these days my kids are sing Frozen songs all day long and I am sure they can quote the whole movie word for word, from memory.
So not surprisingly my little one want to be Anna this year Halloween.

I had some left over black fabric from the lining of a dress, maybe 1/4 yard. 

For the vest I folded one of her t-shirts in half as well as the black fabric. Then I about an inch from the bottom of the t-shirt and about 3/8" from the side. I stopped right below the arm hole.


Then I unfolded the shirt and tucked the sleeve under and cut as close to it as I could. Then I cut 3/8"from the shoulder seem and along the collar.


Then I eyeballed a square cutting down from the edge of the shoulder seem.


For the back rather then lining the middle of the shirt up with the fabric fold move it in about an inch to accommodate the zipper. 
Then sew the side and shoulder together, with right sides facing each other.


For the under shirt you will follow most of the same step as the vest the only changes being you cut 3/8"away from the seem on the sleeve and you don't need to add any length to the bottom, as a matter of fact you can cut higher up if you want to conserve fabric. For the neck you will want to use the collar on the back of the shirt as your cutting guide to give Anna's dress the high collar.


Once you have the top cut out sew the sides and shoulder together with the right sides facing each other.

To add sleeves I drew a bell curve on parchment paper, measured her wrist added a little so it could get over her hand, and measured her under arm length (armpit to wrist). Folded the paper in half so I would have a line going through the center of the bell curve.


Centered her wrist measurement on my fold her under arm distance from the bottom of the bell curve. Used my ruler to get a straight line from the bell curve to her wrist. on each side and cut out my pattern.


Trace and cut out two sleeves out of your light blue. Add a basting stitch on the bell curve portion of the sleeve so you can gather later. Fold hot dog style with right sides facing each other and sew sleeve together along arm length. Now hem the wrist. I used a fun stitch to add some charter but a  straight stitch would work as well.  Now gather top of sleeve to fit the arm hole of your undershirt put right sides together and sew.

Now it is time to add the collar.
I cut two 2 inch strip that were 9 inches long 
Folded in half  cut end at an 45 degree angle then press.
 When you open it should look like this.
refold the cut portion so the right sides are facing and sew along the angle. Turn over and press again.
Overlap folded portions in center of under shirt and attach. Photo is of finished project I didn't have a close up of the collar.


Back to the Vest I purchased some Metallic Gold Bias tape. Folded it over the neck and  shoulders. I used a leaf stitch to add to the fun and I loved how it turned out. I forgot to take a picture of this step but here is a photo from further along.

Now place vest on your kiddo and pin bias tape along the vest to create what will become the waist line.This has a lot to do with your child's size and build so it is hard to give measurements. Sew bias tape down using a leaf stitch only in the upper half of the tape.


Now place under shirt under vest and baste stitch them together. The zipper with be attached to both and hold them together but for right now I found a baste stitch to be helpful while attaching the skirt.


Friday, October 3, 2014

Jungle/Zoo Cake

This cake was so easy to make and a huge hit, with the birthday kid!  

I used my favorite vanilla cake recipe, which you can find HERE.


I places the cake on a cake board right side up, hoping the uneven top would make it look uneven when finished. I also lined my cake pan with parchment paper which gave the corners their funny look.


Next I cut off one of the corners and then shaved the corner down so that it gradually slopped up wards and would look like a mountain top.  I also scraped out a little river so that it would be lower then the grass


I also gradually cut away around the corner so that it would slop down and would help with my waterfall.  I also placed the corner on top to make sure I like how it looked.


Now add the dirt (chocolate frosting). Make sure to get close to the river but not in it.


Now stick tooth picks into your mountain top and place it in the corner.


Finish up the dirt.


So I forgot to take a picture of the next step :( but just take your dark blue gel and squeeze it in the center of the river.  Also squeeze some gel over each of the sides so it runs down.


Now add some light blue (I had a special request for "sparkly" blue) over the top of the dark blue.


Take a butter knife and smooth it out so that it mixes together just a little


I found some light blue rock candy that I took off of the stick and sprinkled randomly.  It is hard to see in the pictures but really adds to the water.


Now your river is FINISHED!!!


Onto the most time consuming part.... rocks
Our local candy shop carries chocolate rocks and they are amazing! and very real looking.


I started placing them around the river and on the parts that slopped down


Then continued around the the side of the cake.


Going all the way around, this is a great part for a little helper to participate in.
My little helper found "special rock" in the rock  bag that we put on the mountain top.


Then we covered the mountain and added 2 little rock to the river.

  
Now my little helper and I made some green frosting.


This is the most advanced step, but don't worry it really isn't that hard just used some special cake decorating items.

I used a disposable decorating bag and a Wilton open star tip (number 18)


Once your are ready to go your just cover the top with drop flowers.  You just squeeze a little frosting out then lift the bag up to create the flower.  I did different sizes and tried to avoid straight lines.  I also liked leaving a little area with just a few tufts of grass. Also as you can see I left varying sizes of space around my grass clumps.


I was trying to get a picture that showed that I did different sizes of drop flowers, this is the best one but really they are all different heights


Now add animals


Clean off the cake board and your all done!