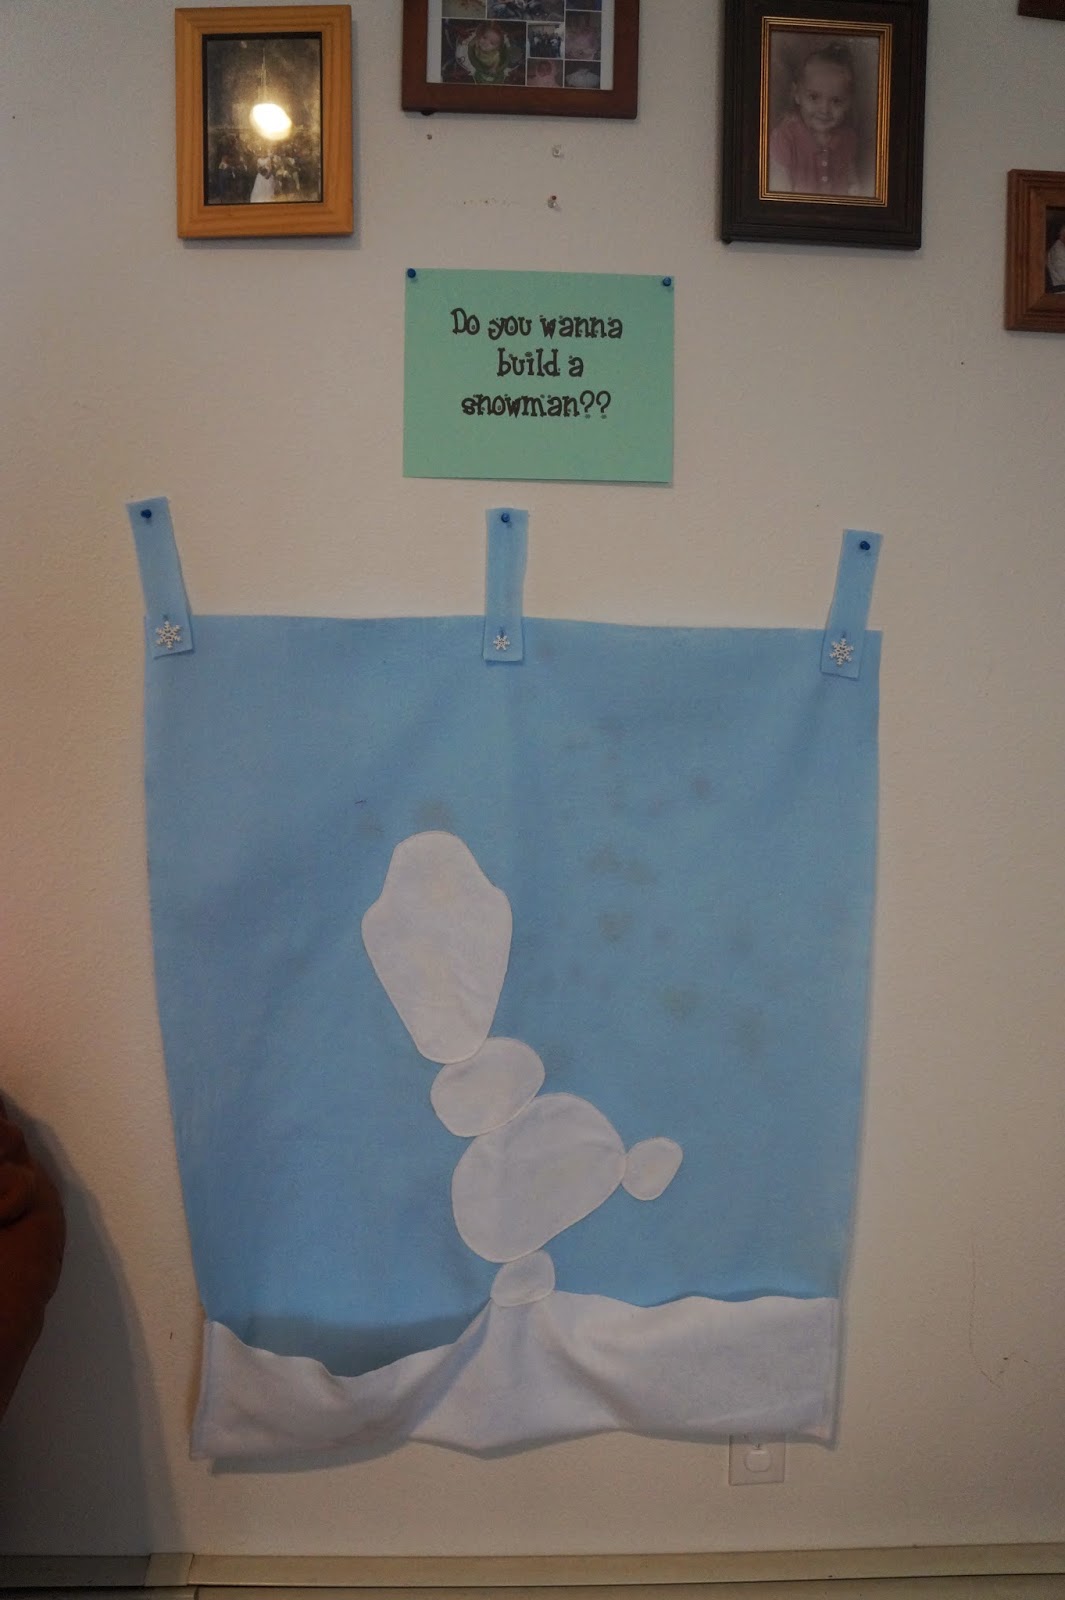
Had fun make this for my kids today, it was an instant hit!
I use this game to get close to the proportions. I enlarged the photo and moved it around to fit each part of Olaf on one sheet of paper.
I purchased a yard of blue felt on sale and cut it on the fold to make two.
I had some white felt left over but I estimate needing about 1/3 of a yard.
About half a sheet of brown, black, and gray
A quarter or less of orange
I stitched the sides and bottom of the "snow" to the blue to create a pocket for the storing the parts.
Next I just eyeballed cutting some drifts in the top to make it look more snow like.
I decided to attach Olaf's body parts -legs, mid sections, and head. However you could skip that step.
I used a little spray adhesive to hold him in place while I stitched close to the edge of each part. It has also him lay nice and flat.
Out of the brown cut 2 arms, 2 eyebrows, and his hair. You can either use the picture above to trace out his hair and arms or just draw your own. My husband traced the arms and I just drew the hair and both I think look good.
Out of black cut 3 roundish buttons, 2 circles for the back of the eye, and 2 small circles or the front of the eyes
Cut 2 circles slightly smaller then the black circles for the eyes out of white
Gray for the mouth, I would recommend tracing this as it is hard to get the curves right. Also I tried adding teeth on top of the gray and felt that it looked much better to cut out the teeth rather then adding them.
Cut your nose out of orange
Layer the black and white circles for the eyes and tack in the center
It is simple fun and durable. It also made a great party game :)
UPDATE: After a few uses the pins that I used to hold it to the wall where starting to rip the felt so I cut strips. Put button holes in both ends of the strips. Attached buttons to the big piece of felt and put the push pins through the top button holes and it is holding up much better now.


